Follow these steps to successfully deploy and run your Node.js application on cPanel shared hosting.
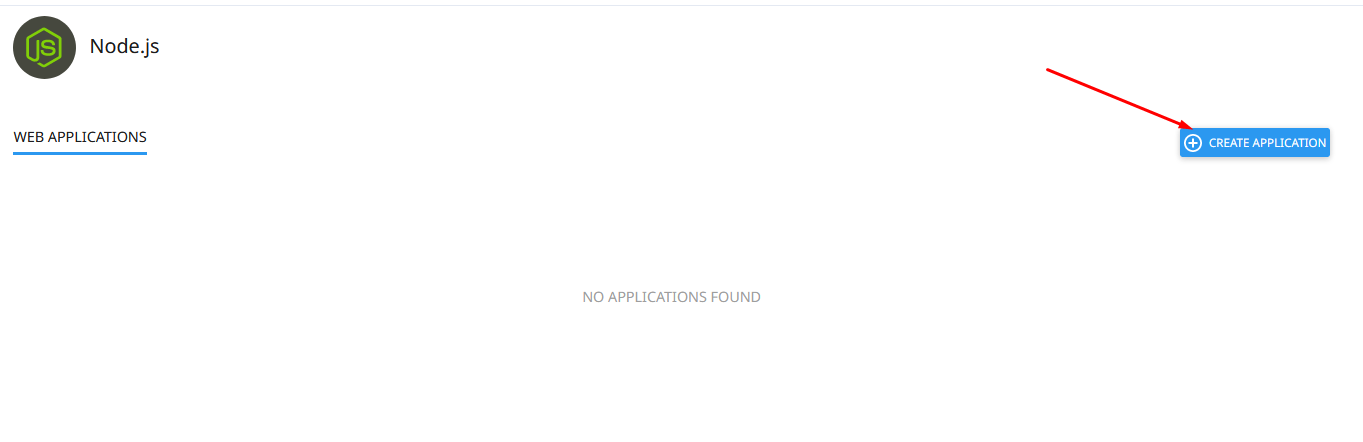
Part 1: Create the Node.js Application in cPanel
- Make sure Jailed SSH access is enabled on your account (contact support if needed).
- Upload your complete Node.js project files via File Manager or FTP into a subfolder inside public_html (e.g., /home/yourusername/public_html/myapp).
Important: Files are not allowed directly in the public_html root. - In cPanel, go to Setup Node.js App → Click Create Application.
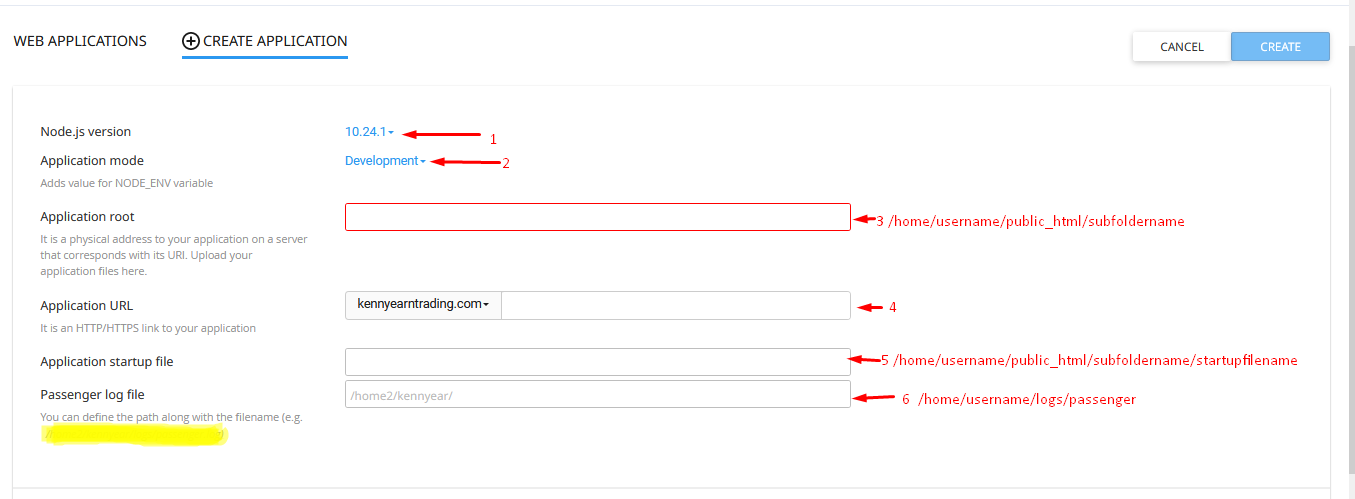
- Choose the Node.js version that matches your project.
- Select Application mode: Development (for testing) or Production (recommended for live sites).
- Set Application root to your project folder (e.g., /home/yourusername/public_html/myapp).
- Set Application URL – this is the domain or subdomain where your app will be accessible.
- Enter the full path to your startup file (usually app.js or server.js), for example:
/home/yourusername/public_html/myapp/app.js - Specify a Passenger log path (e.g., /home/yourusername/logs/passenger.log).
- Click Create.
Part 2: Install Dependencies & Configure the App
Option A – Using cPanel (Easiest)
- After creation, you’ll see the new app listed. Click NPM Install button – cPanel will automatically install everything from package.json.
2. Edit your configuration files (settings.json, .env, config.js, etc.) with correct database details, site URL, SMTP, etc.
3. Click Restart Application.

Option B – Using Terminal / SSH (More Control)
- Open Terminal in cPanel or connect via SSH.
- Copy and run the virtual environment activation command shown in your app details, e.g.:
source /home/yourusername/nodevenv/public_html/myapp/18/bin/activate && cd /home/yourusername/public_html/myapp

3. Inside the virtual environment, run:
npm install
4. Update your config files (database, URL, email settings, etc.).
5. Back in cPanel, restart the application.
Your Node.js app is now live and running!
